Notepad Object for Canvas 
Note: For Canvas Series only. For all other series see Notepad Object .
See also: User Interface
See also: Graphic Object Toolbox for Canvas Series
Topic Menu
Overview of the Notepad Object
This object displays a note area where the operator can "write" on the screen with a stylus or finger. When this object contains no message the controller register is cleared. When a message is saved (by the operator pressing the save button) the controller register is set. Currently only one Notepad Object is allowed per program. The Notepad Object data is currently not retentive and is cleared by a power cycle.
Note: The Notepad Object data is currently not retentive and is cleared by a power cycle.
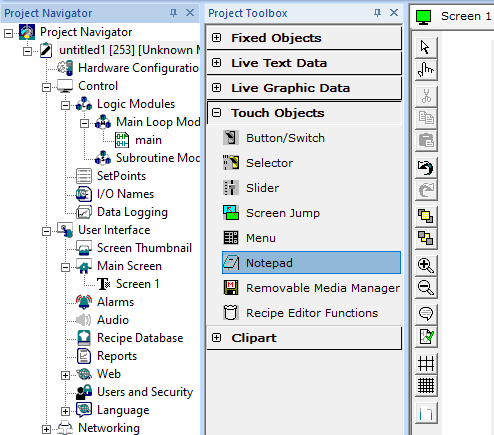
Allows the operator to leave notes by "writing" on the screen. Notepad can be accessed through the Screens Project Toolbox > Touch Objects > Notepad. User must be on a Screen and not in the Main work area in order to see the Objects Project Toolbox items.
Notepad Object Configuration
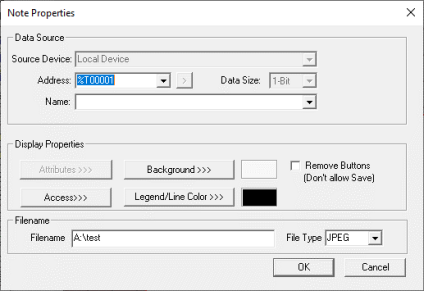
Controller Register
Address - Only accepts bit register references. This bit indicates that the Notepad Object has data saved to it.
Name - The filename specifies the path and the name of the file to be saved to the Removable Media card. The image can be stored either in compressed JPEG format or in uncompressed Bitmap format. Screenshot of Notepad Object data can be taken using the button available in the Notepad Object.
Note: A filename extension MUST be included with the filename if it is so desired to be there. It is not automatically added.
Filename – The filename specifies the path and the name of the file to be saved to the Removable Media card. The image can be stored in the available file type from the dropdown menu. Screenshot of Notepad Object data can be taken using the button available in the Notepad Object.
File Type – Following file type extensions are available to store the filename, JPEG, JPG, PNG and BMP.
Display Properties for Notepad

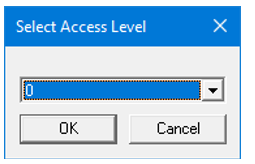
Access>>>
User can select access level from 0 to 7 in the drop down as shown. User logged in with the configured Access level (of graphic object) only will have access to that particular graphic object.
Note: Default access level is 0 (Zero) for all the access level supported graphic objects.
See also: Security & Passwords
Background Color / Image >>>
Selecting Background Color / Image >>> button displays the following window.
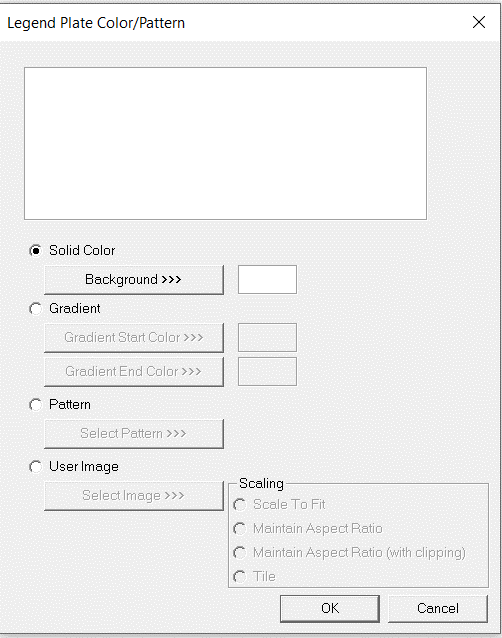
Color Picker
Applies the selected color from color picker as solid background color for the graphic object.
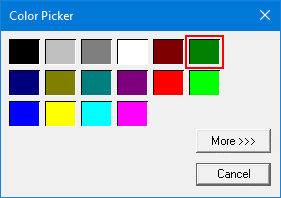
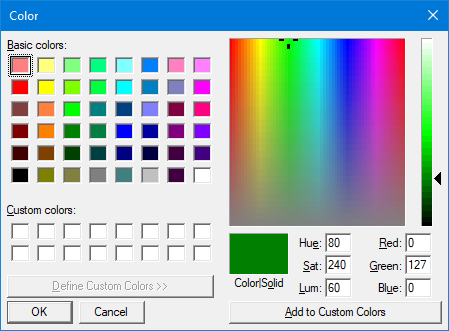
Selecting More >>> displays the following window allowing user to select color apart from default colors available in the above displayed color picker window.
Gradient
Allows user to select start and end color to be configured which in turn displays the configured color as gradient to the background color of graphic objects.
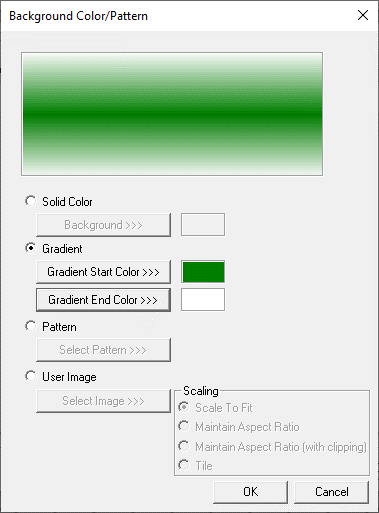
Selecting Gradient Start Color >>> or Gradient End Color >>> displays the Color Picker.
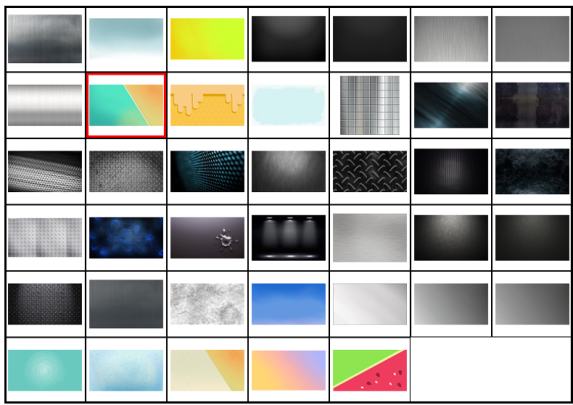
Pattern
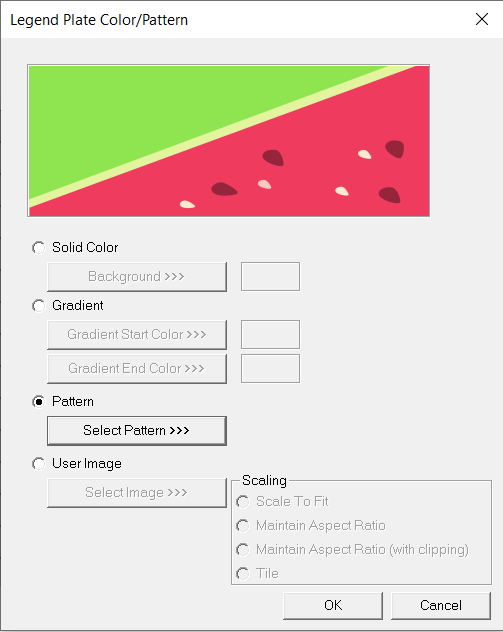
Selecting Select Pattern>>> option displays the following window, where user can select a pattern that will be applied as background for the graphic object.
User Image
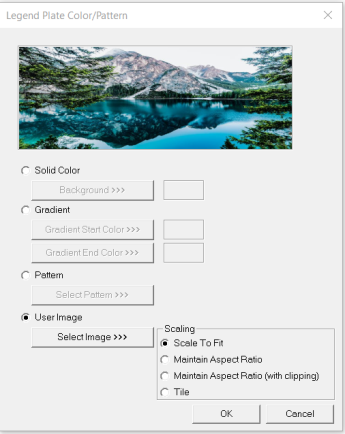
Select Image>>> - Selecting “Select Image>>>” displays windows open dialog for user to select the image from local drive. Following image types are allowed - .bmp, .png, .jpg, .jpeg and .svg.
Legend / Line Color >>>
Selecting Legend / Line Color >>> option displays the Color Picker dialog for user to select the color and this will be applied to the legend and line (boundary) of the graphic object.
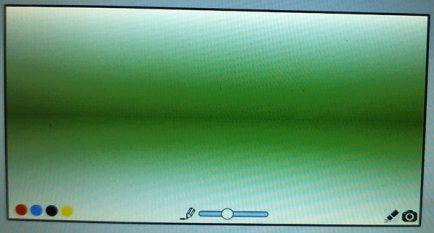
Notepad Object in Controller
Note Object on the controller will be displayed as below:
-
Select color for the pen to write, default color is Black..
-
Specify the width for pen to write. Move the slider to change the pen width.
-
Select the camera button to take screen shot of the data in Note object. File will be saved with the name as mentioned in Note object properties dialog.
Return to the Top: Notepad Object for Canvas